Armature Tapers - practical
- Place a piece of scrap metal (NOT the new drive component!) in the lathe chuck as a test piece.
- Drill a hole through the centre. Choose a size a little smaller than the smallest diameter of the required taper.
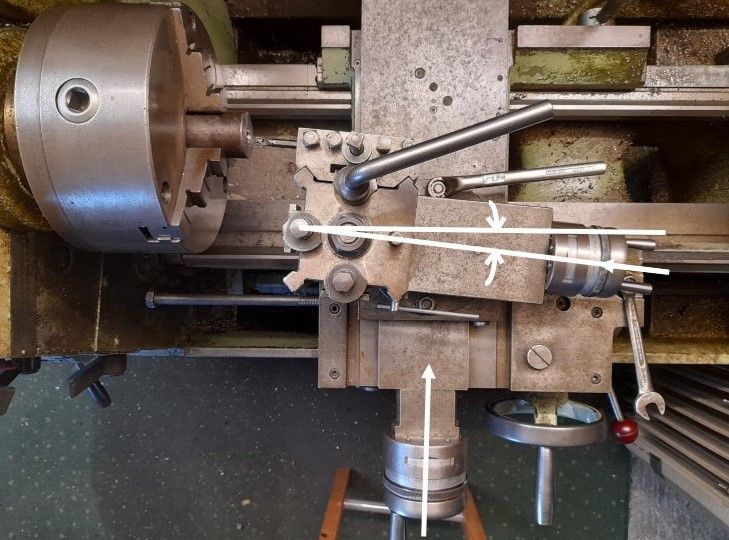
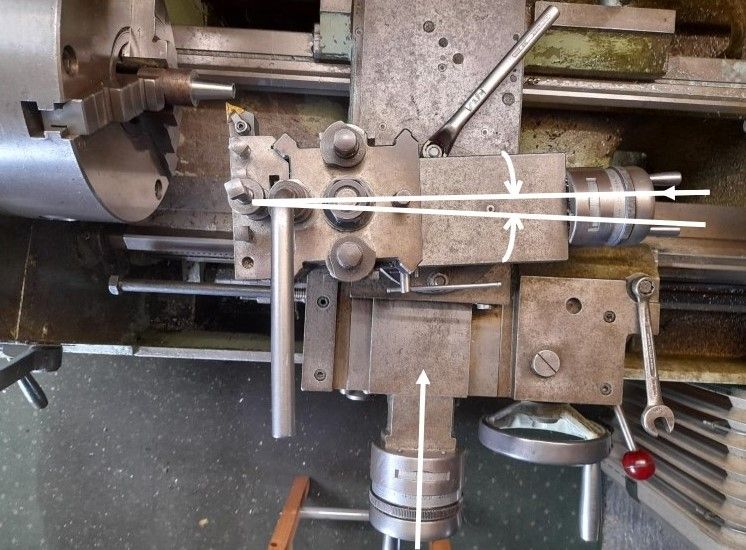
- Set the top slide at just under 6 degrees such that the large diameter of the finished hole will be on the tailstock side.
- Cut a trial taper and try the magneto shaft in the new hole. It will probably 'rock' a little.
- Tap the top slide round a little as necessary and repeat the process until the 'rock' is negligible.
- Once it gets close, use engineer's blue to check that contact is made over the full length of the taper.
- Once the taper fit is sorted, see how far into the hole the armature shaft goes.
- Adjust the depth of cut on the cross slide a few thou, cut again and check again.
- Determine how much further onto the shaft the sprocket fits for a given (very small) increase in depth of cut.
Sometimes, the taper on the armature itself is badly damaged and needs work. The important thing to remember is that when it is decided to 'clean up' such a taper, that will also change the diameters. Because of that, the driven component goes further onto the taper which inevitably means that it will no longer be in line with the driving component. It's surprising how even a tiny amount removed from the taper results in a significant misalignment. Truth is, provided that the majority of the taper surface is good and clean, it will still hold the drive component OK. The odd scuff or groove in the surface won't matter as long as there are no high spots.
Occasionally, the armature taper is just too bad to be of any use and in those circumstances, a new end can be machined from scratch. Early magneto armatures often used all brass drive ends but it soon became common practice to use a steel shaft in a brass end. That's not too easy to reproduce so an all steel end is the answer - BUT - whatever the new end is made from, it must be non magnetic if the magneto is to produce sparks efficiently. Here at The Magneto Guys we use stainless steel for this job. Most of the work is straightforward centre lathe machining so will not be detailed here. The taper on the armature shaft can be machined following the same principles outlined above. Note that the top slide is angled in the opposite direction so that the drive component can be tried on the machined scrap metal test piece as before. Again, using the top slide produces the correct taper angle and using the cross slide takes care of the diameters.
Some may suggest lapping the two tapers together with grinding paste. This will certainly ensure a perfect fit between the two parts. Unfortunately this will almost certainly be achieved by removing some material from both surfaces. As a result, although these two parts will fit together well, it is likely that neither will be a good fit on a corresponding standard part. It is probably best to get as good a fit as possible by machining the new component to fit a good condition, standard, reference part .