Remagnetising Magnetos
There is some debate elsewhere on the web as to whether remagnetisation is always necessary. Here at The Magneto Guys, we always remagnetise as a matter of course as the final job to be done following an overhaul. There doesn't seem to be too much point in reproducing material which is already available elsewhere so we are providing access to a copy of the very detailed Lucas Workshop Instructions covering the subject - just click on the button to download the pdf file:
Those Lucas Workshop Instructions say it all really so we are only following it up with a few pictures and notes showing how we do the job.
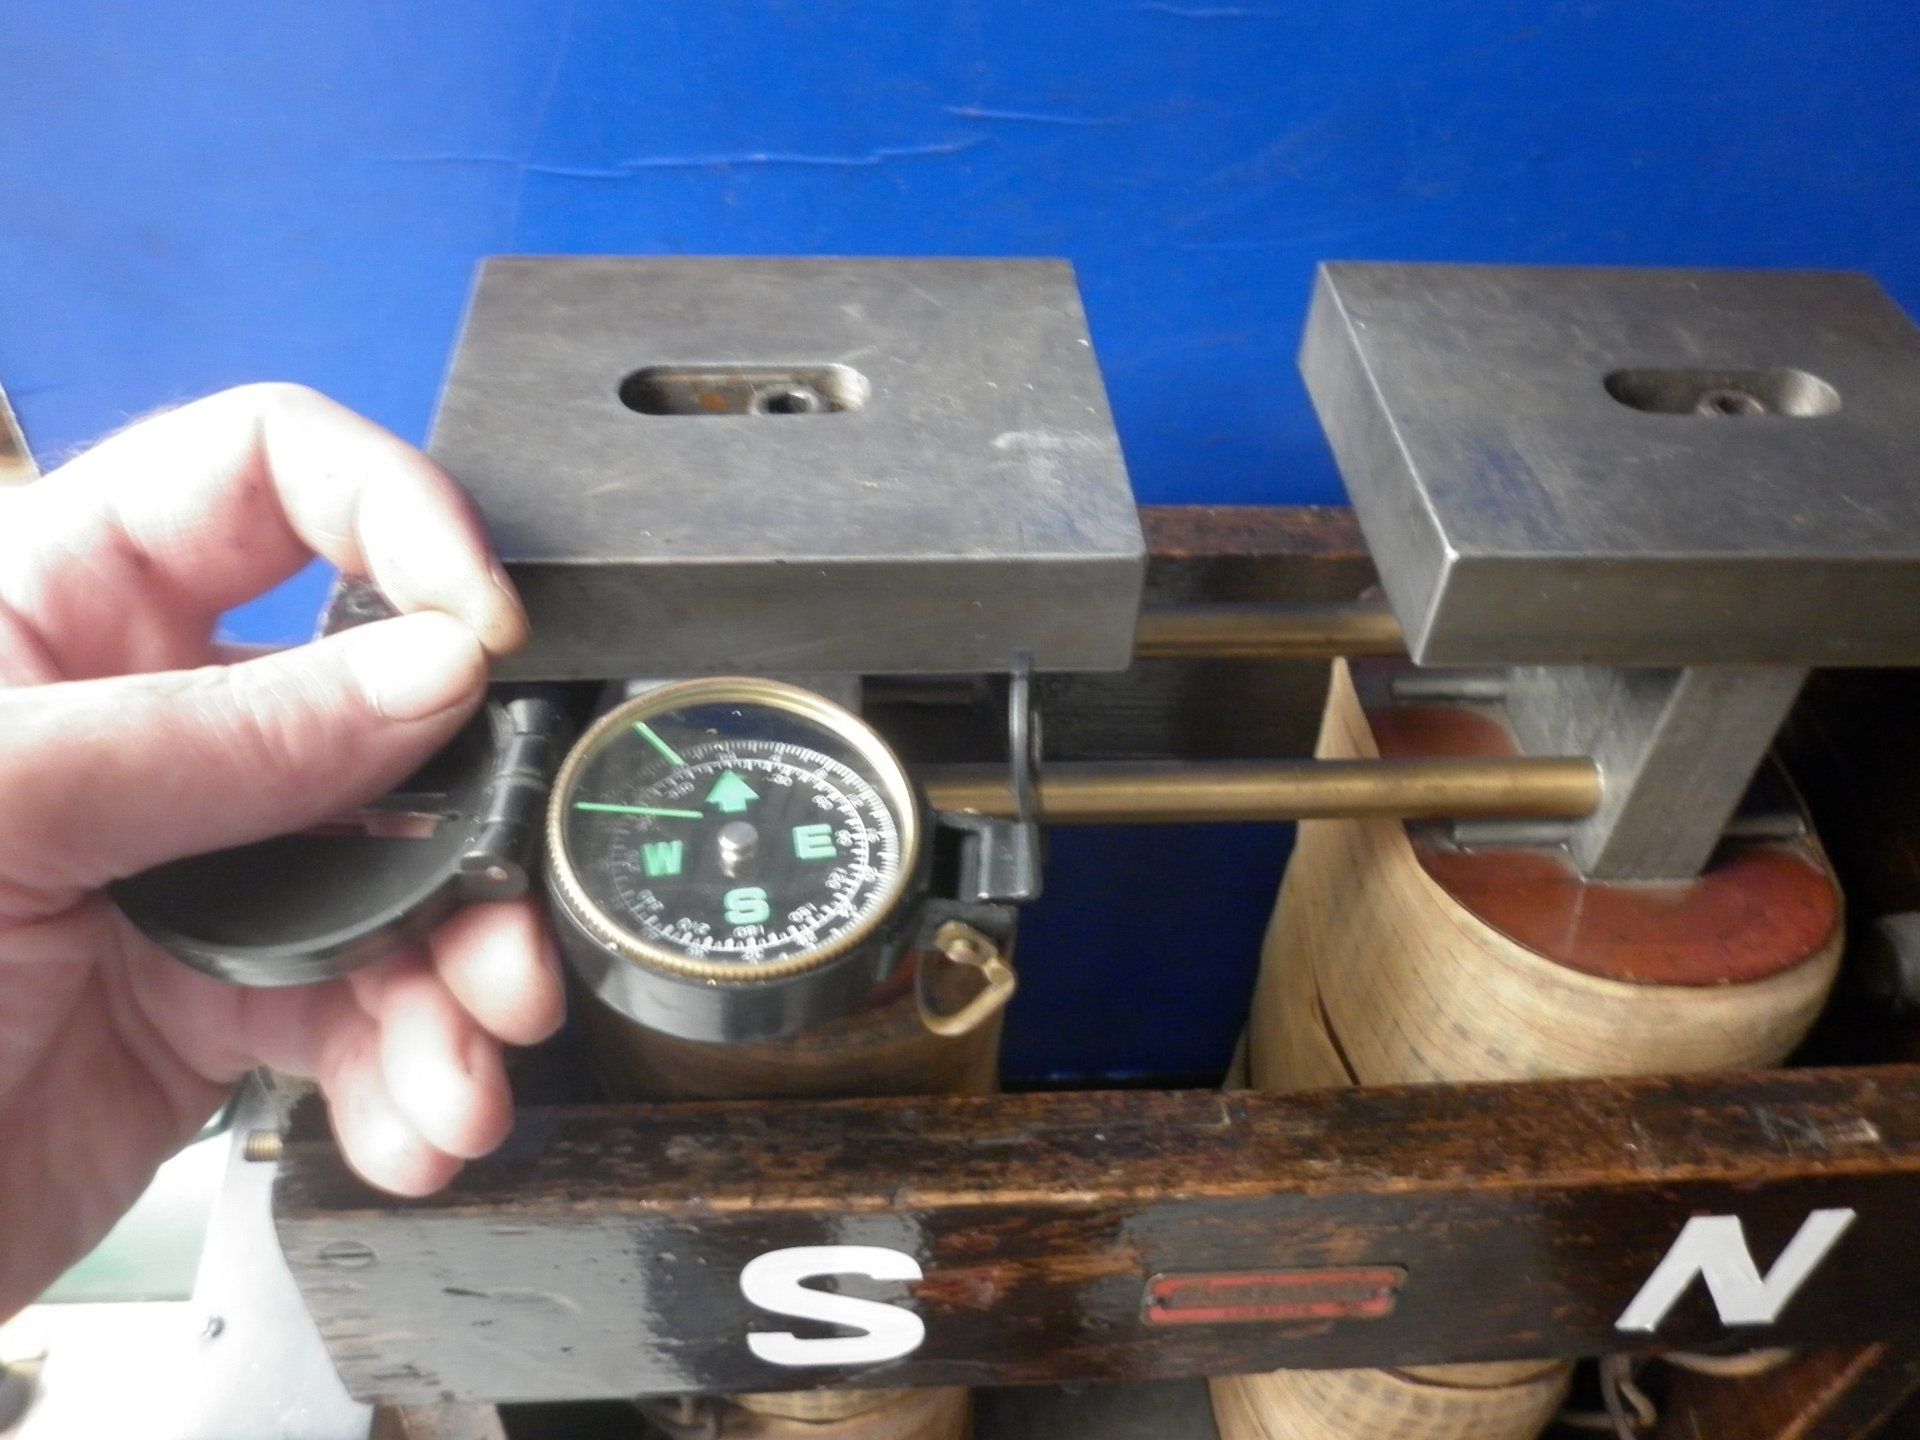
One essential tool is a compass which is used to indicate the polarities of both the magneto and the magnetiser. From the Lucas Workshop Instructions:
Note: When a compass needle is brought near to a magnet, that end of the needle which normally indicates North will be attracted to the South pole of the magnet.
This picture also shows how the magnetiser top platforms can be moved to adjust the gap between them to suit magnetos of various sizes.
Although other magnetiser designs exist, we use one of a type which allows the process to be done after the magneto has been completely assembled. Having said that, the following picture shows how NOT to do it! It is included here to show how we demonstrate the need to have a 'keeper' on the magnet at all times - particularly important with the early horseshoe magnets. When the magnet is placed on the magnetiser platform as shown, the magnetiser itself will act as a keeper by completing the magnetic circuit.
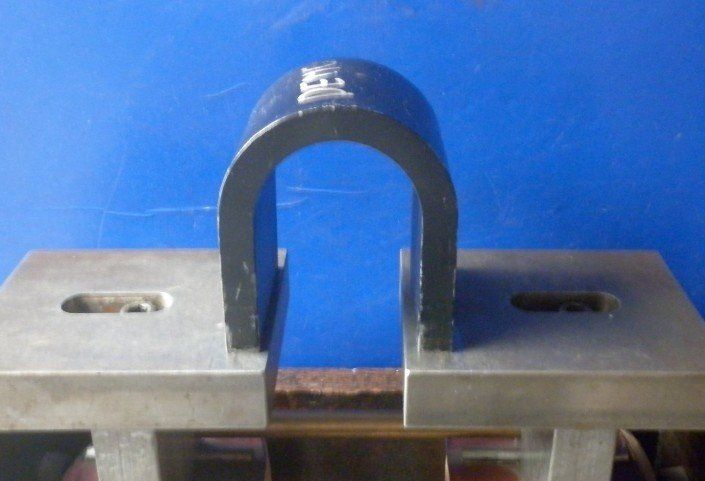
It will be possible to rock the magnet front to rear but there will be some evidence of a magnetic pull when the magnet poles lay flat on the magnetiser. Now, if the magnetiser is energised for just a second or two, the magnet will then be very difficult to move - trying to rock the magnet as before will result in the entire magnetiser rocking on the bench - and that is very heavy! The remagnetisation process is very quick and shows some very obvious improvement!
With care and determination it will be possible to slide the magnet towards the operator until it overhangs the front edge of the magnetiser platform and it can be removed. If it is immediately placed back onto the magnetiser, it can be seen that the magnet can then be rocked as before, demonstrating that magnetism has been lost. The magnet needs a keeper to be able to retain it's magnetism. In an assembled magneto, the armature core acts as a keeper. Once the keeper is removed, the magnetism is lost instantaneously - you will never be quick enough to put a spanner across the poles or insert a steel plug in the armature hole! This explains why, if an armature is removed - particularly if it is an early horseshoe type , the magneto will need to be remagnetised before it will work efficiently.
As explained in the Lucas Workshop Instructions, with later magnetos the introduction of better materials for magnet manufacture enabled designs to use much smaller magnets which were usually embedded in the aluminium body of the magneto. This means that, when remagnetising, it is essential to use shaped blocks to keep the length of the magnetic circuit as continuous as possible though, inevitably, there will be some sections filled with the (non-magnetic) aluminium casting. It is important that the blocks are a very close fit to the magneto with minimal air gaps. The following pictures show some of the blocks we have made to suit particular magnetos.
The horseshoe magnet on most magnetos rarely reaches the mounting face so a rectangular block each side is used to maintain the magnetic path.
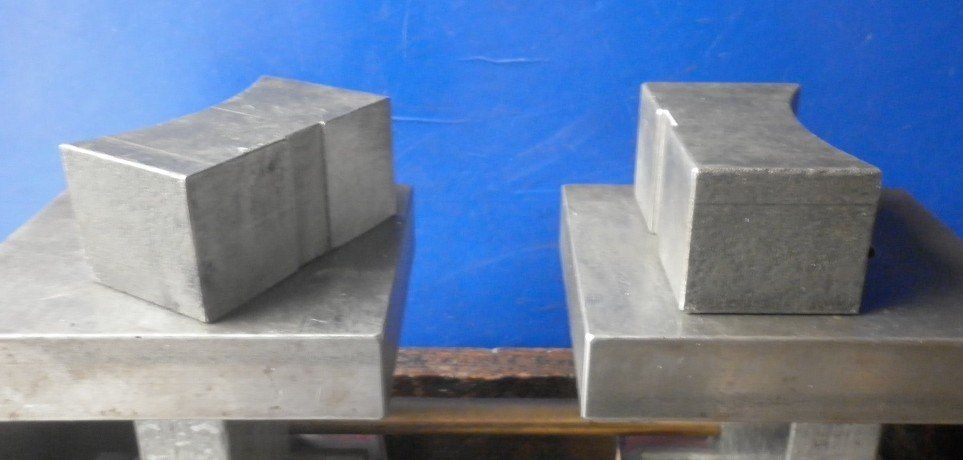
These blocks have a groove in the face next to the magnet to take any protruding magnet screws - it's important to keep any air gaps to a minimum.
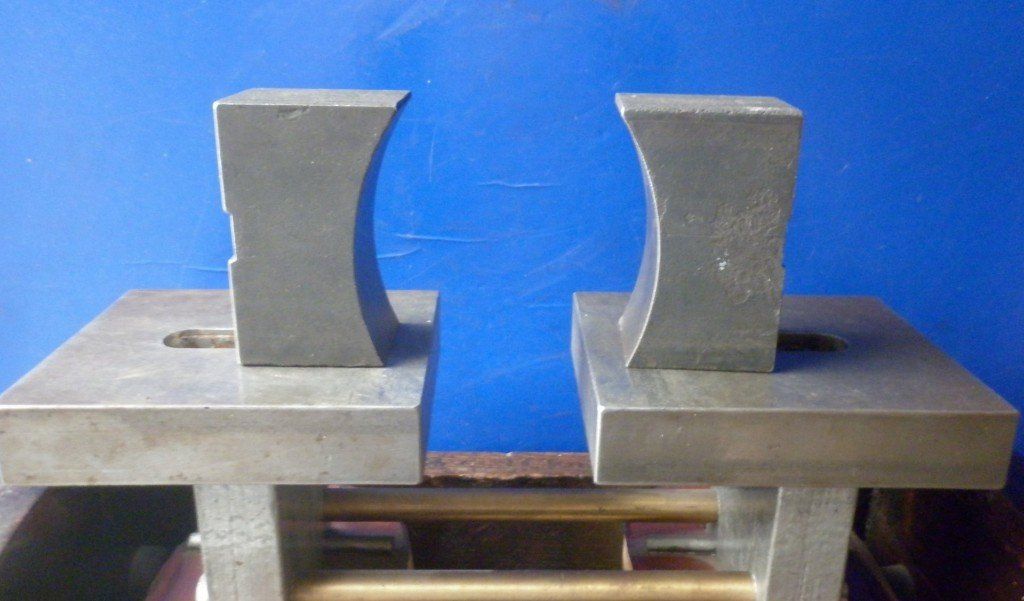
The same blocks can be turned on end so that the curved edges can be used against the body on Lucas K1F/K2F/KVF magnetos as described in the Lucas Workshop Instructions.
The same idea is applied with these blocks - used on 'round' ML CM/CMA/CMAK magnetos.
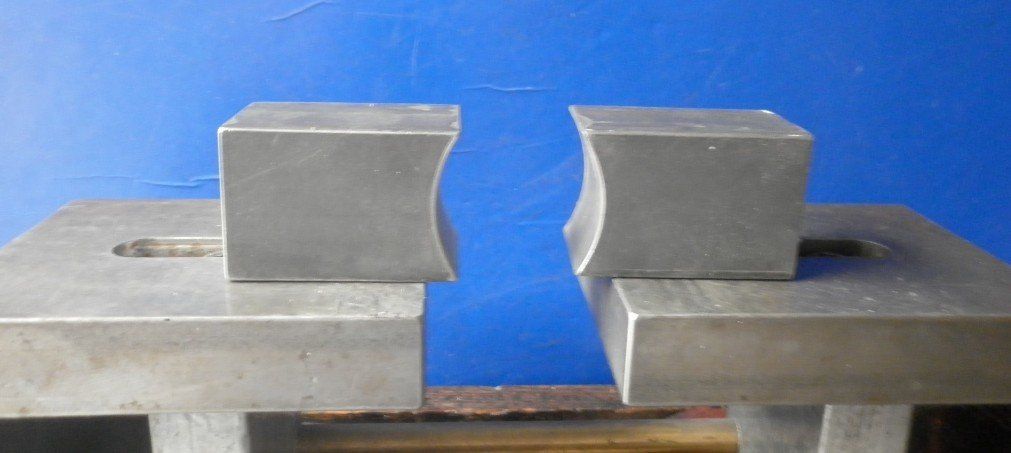
These blocks were originally made to fit permanent magnet motors used in juke boxes!
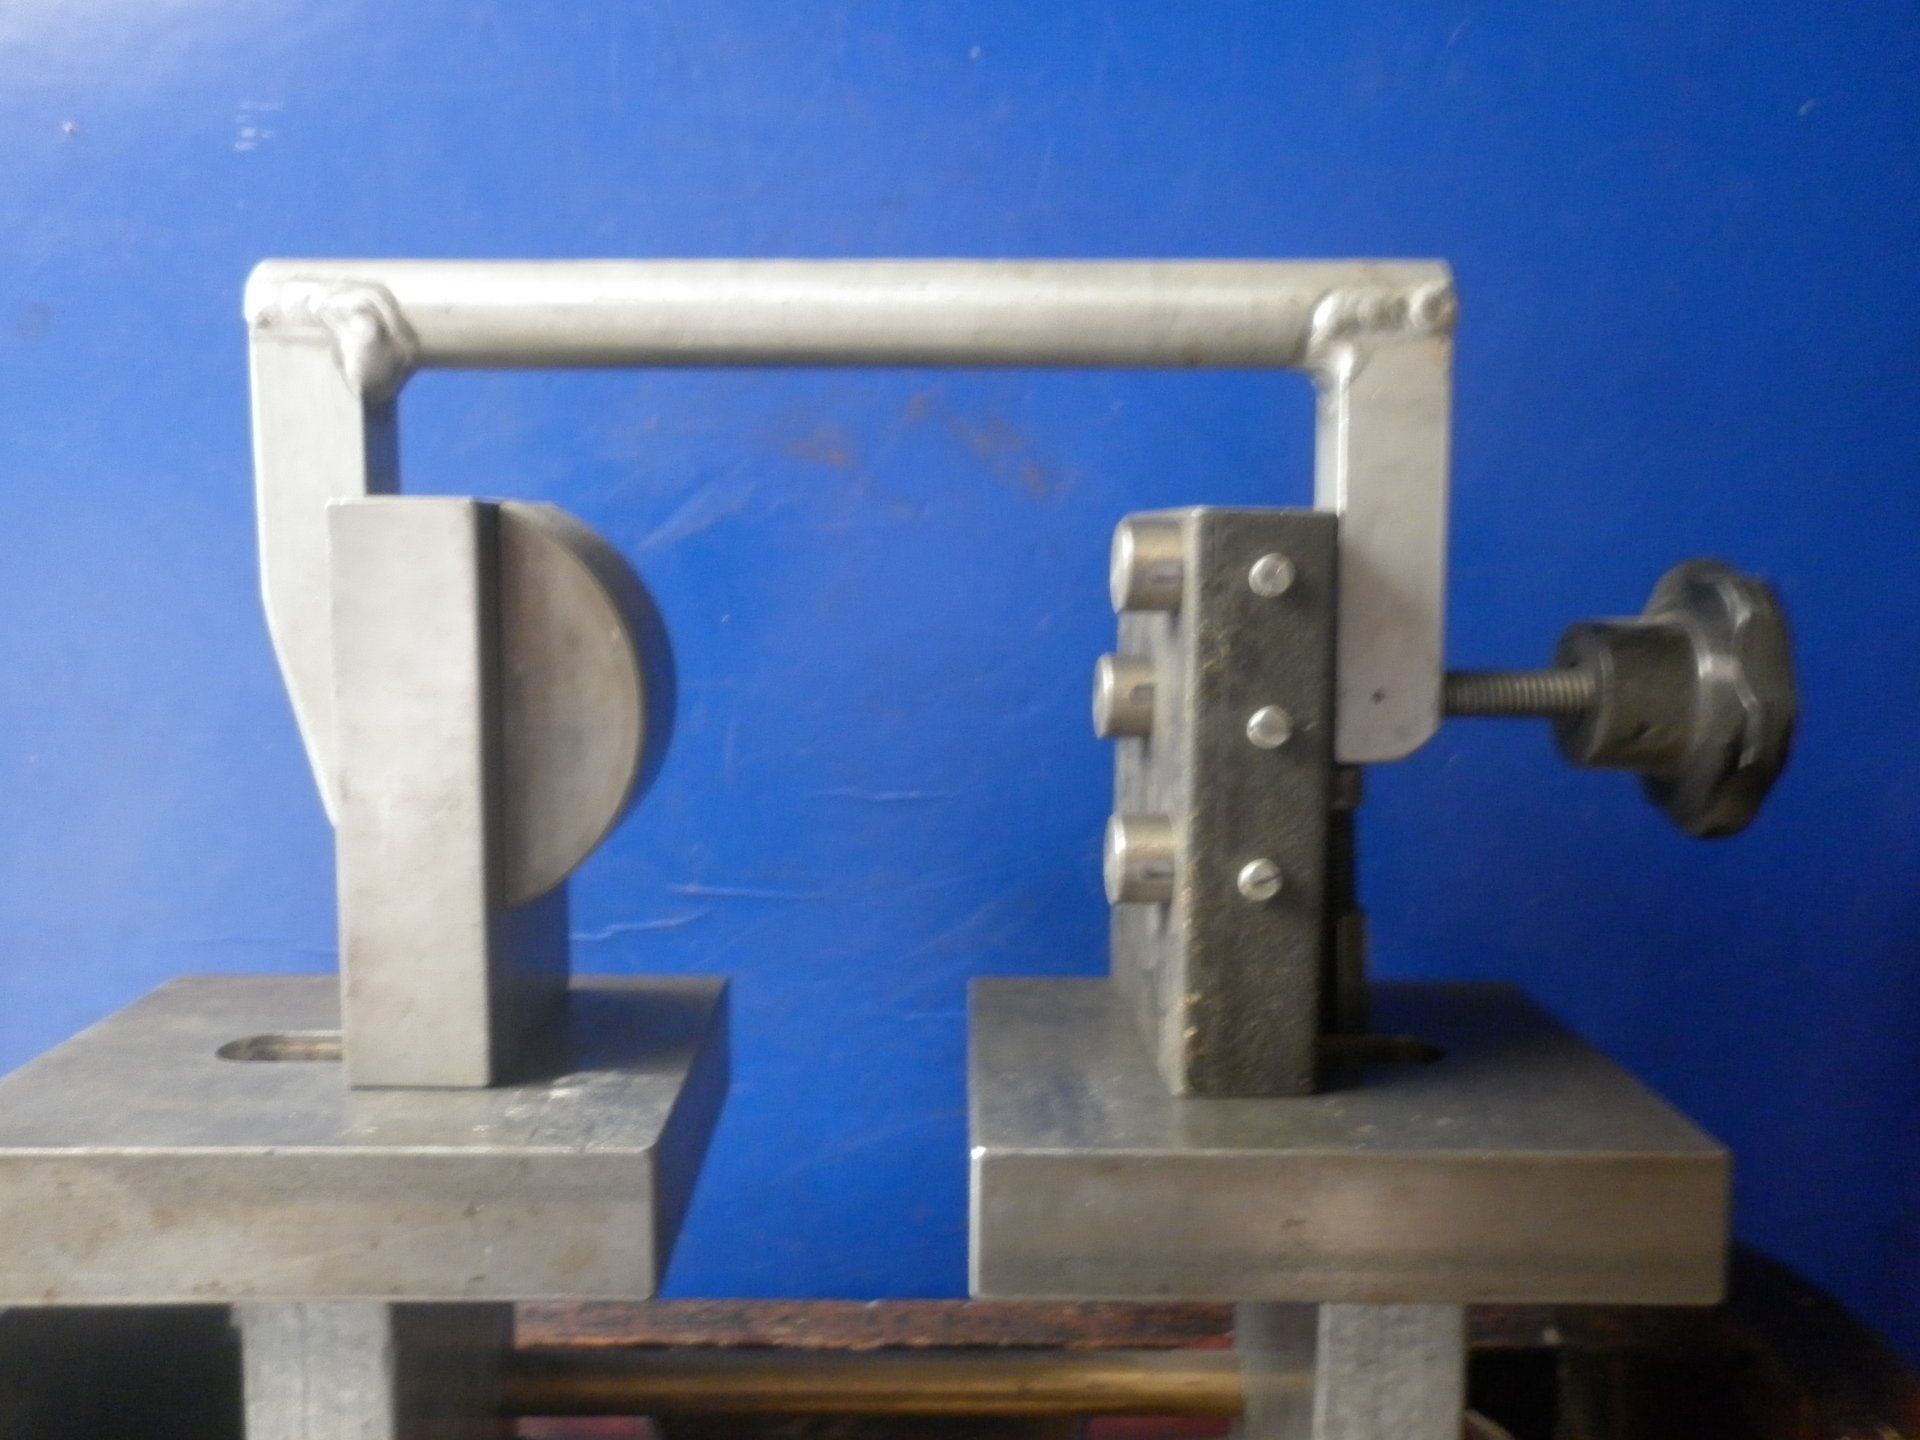
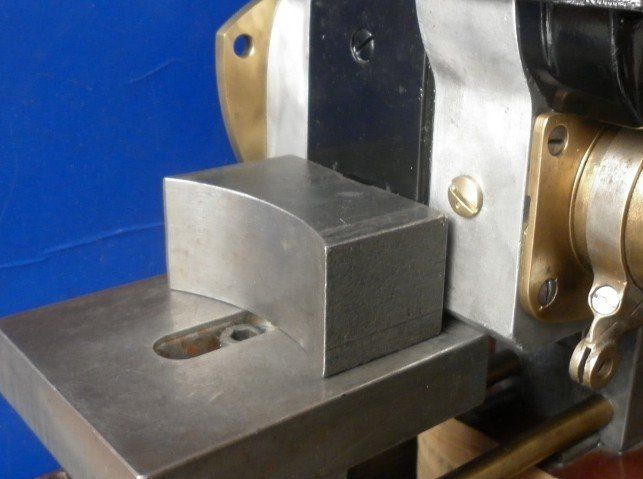
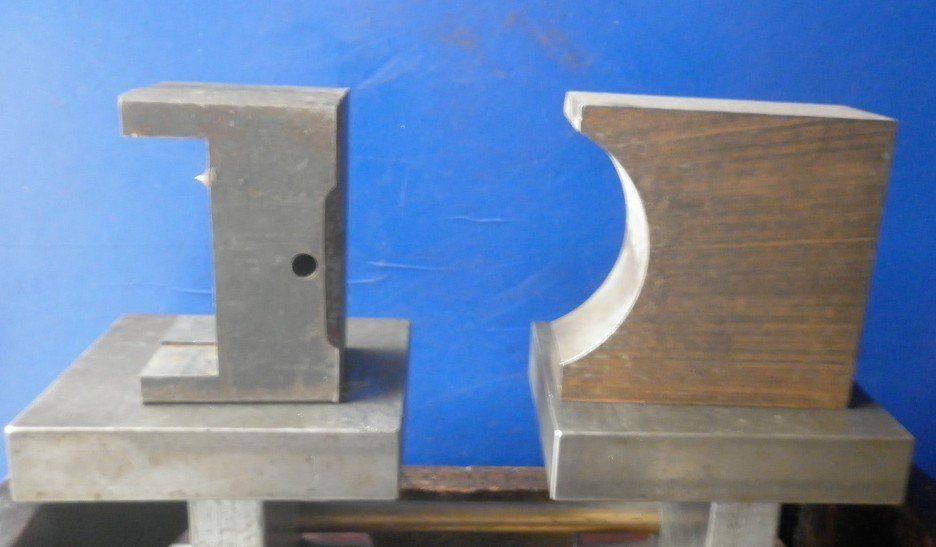
These blocks are used on Lucas MO1 type magdynos. The curved block on the left fits in the channel which normally takes the dynamo body. The flat block on the right is placed against the base of the magdyno. This is all as described in the Lucas Workshop Instructions but we added the three sliding dowels which press into the recesses in the magdyno base in an attempt to reduce the air gaps in the magnetic path. The arm over the top plus the clamping screw makes it easier to hold everything in place. The arm is made of (non-magnetic) aluminium for obvious reasons.
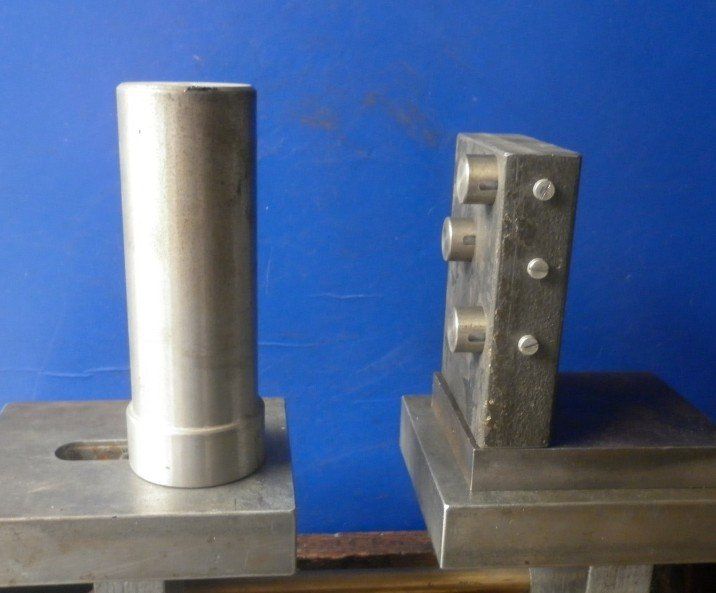
The same rectangular block is used on the earlier Lucas MDA/MDB/MDV type of magdyno. These magdynos have an 'all-in-one' body so the remagnetising is done with the dynamo armature replaced with the cylindrical block shown on the left. Note the extra block used to raise the block on the right.