Making a Twin Spark Magneto
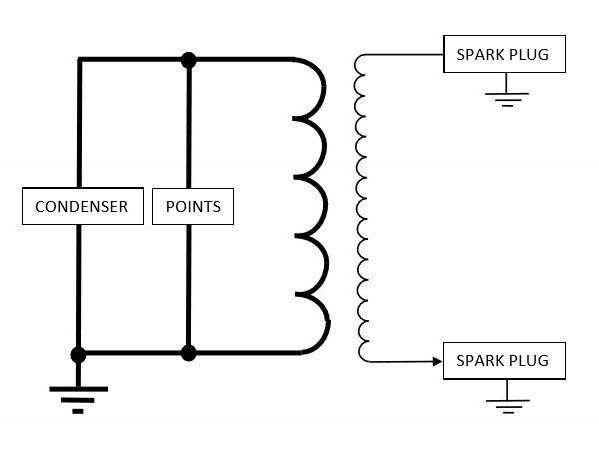
First, a quick re-cap on what needs to be done:

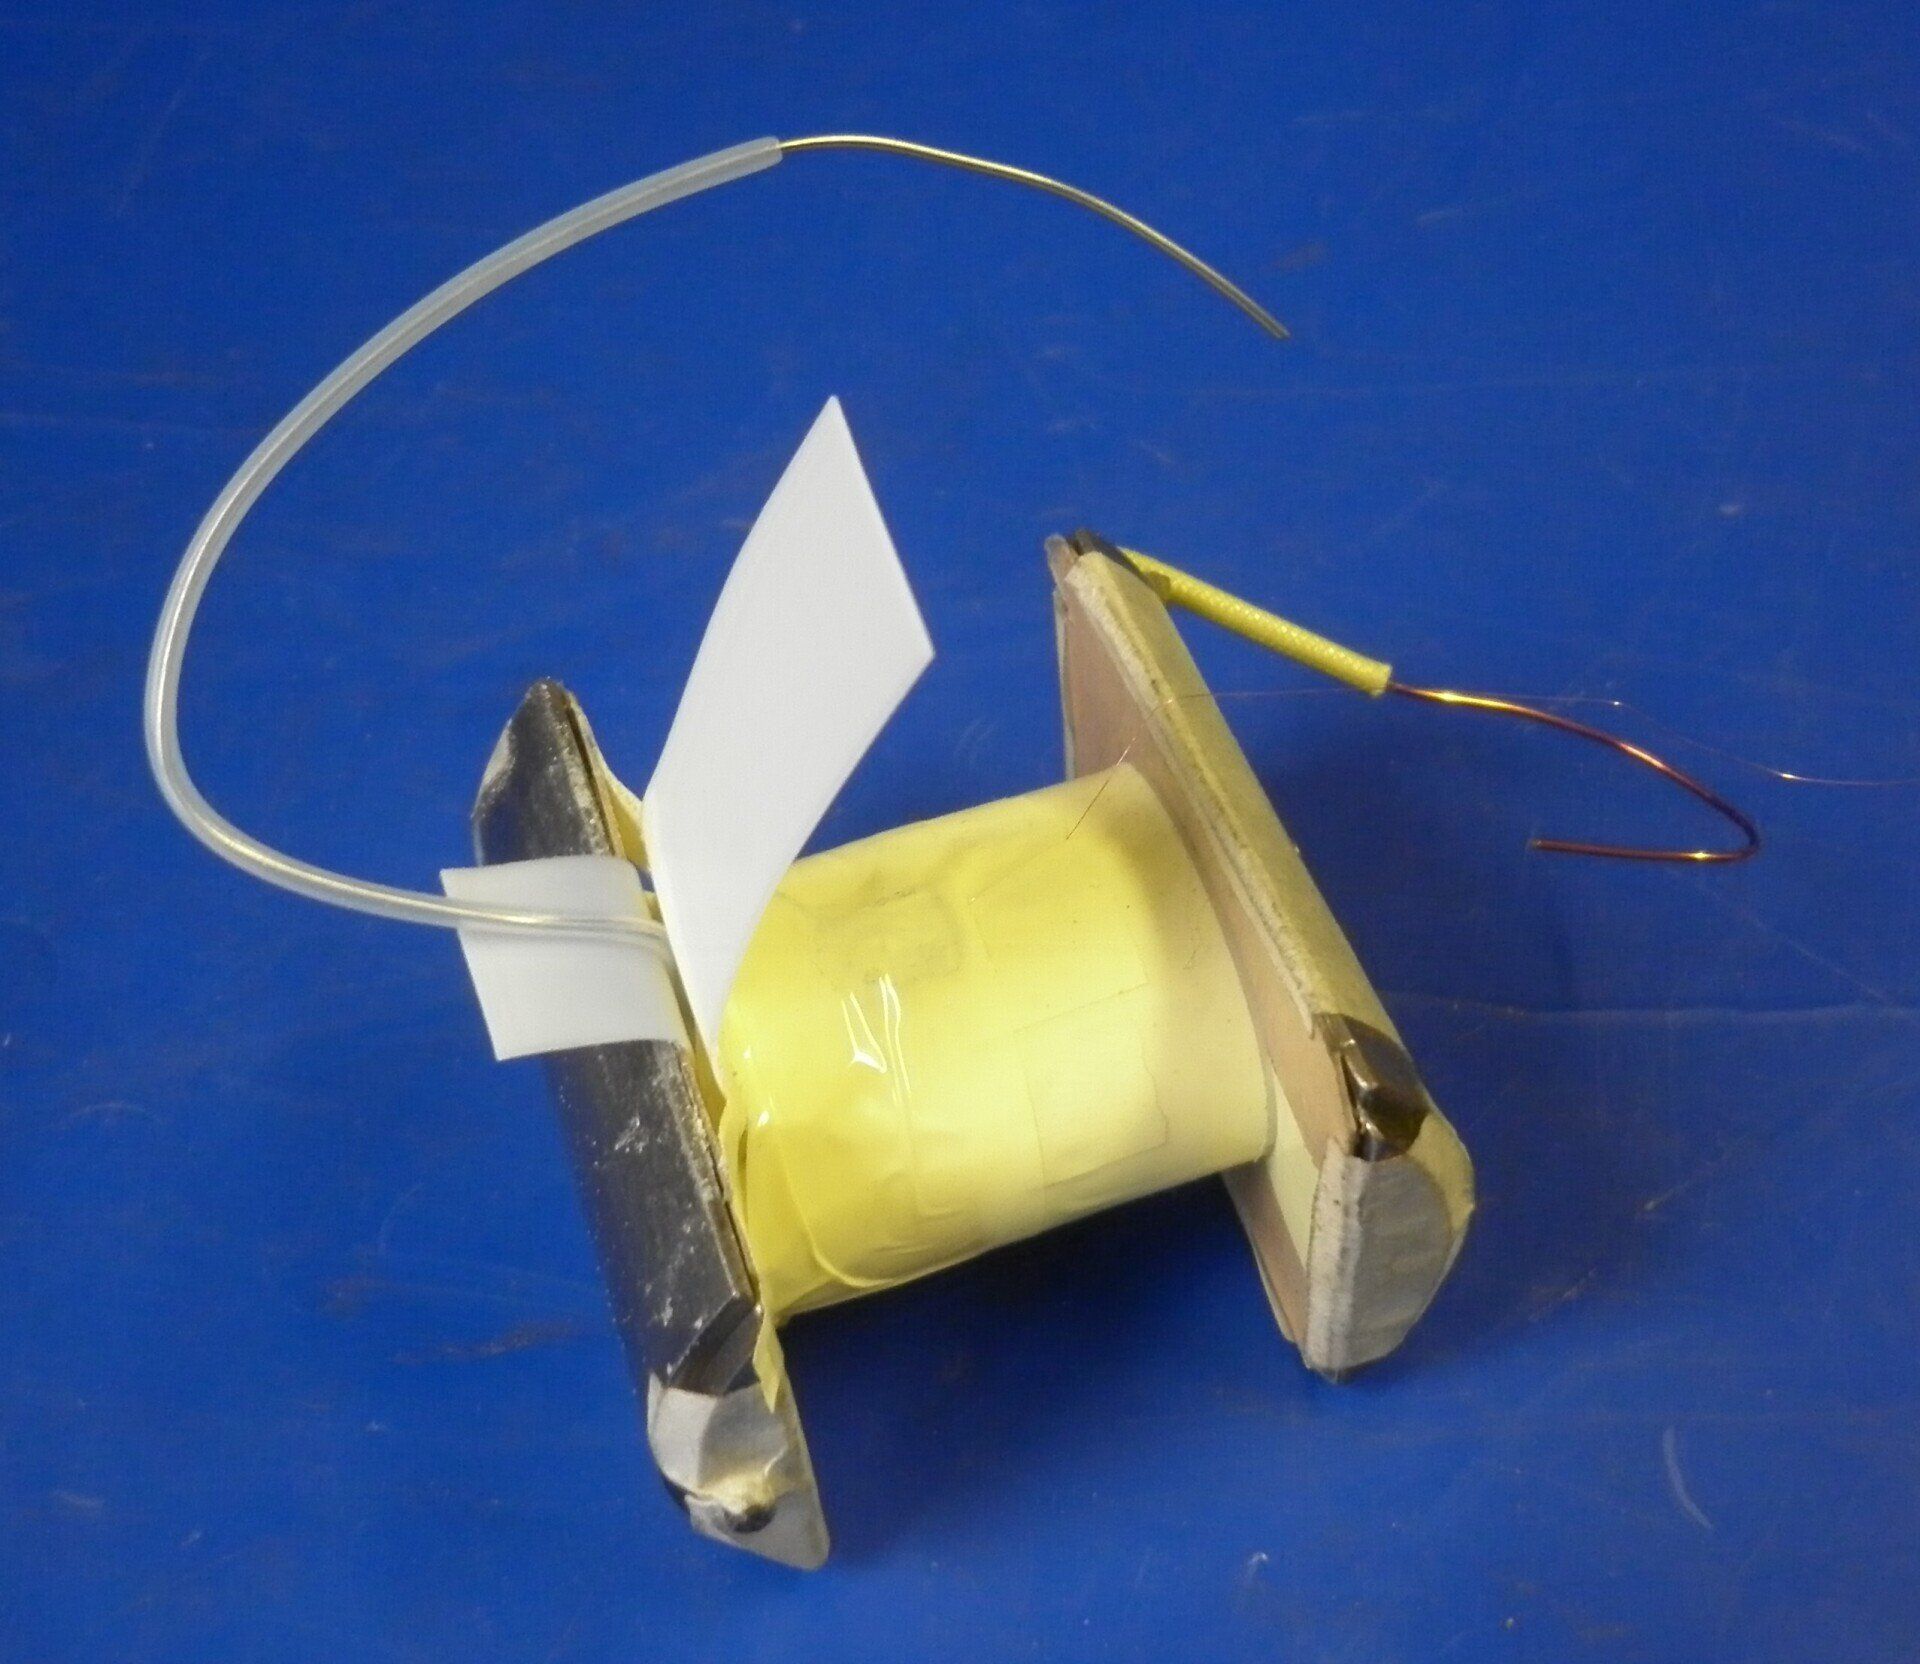
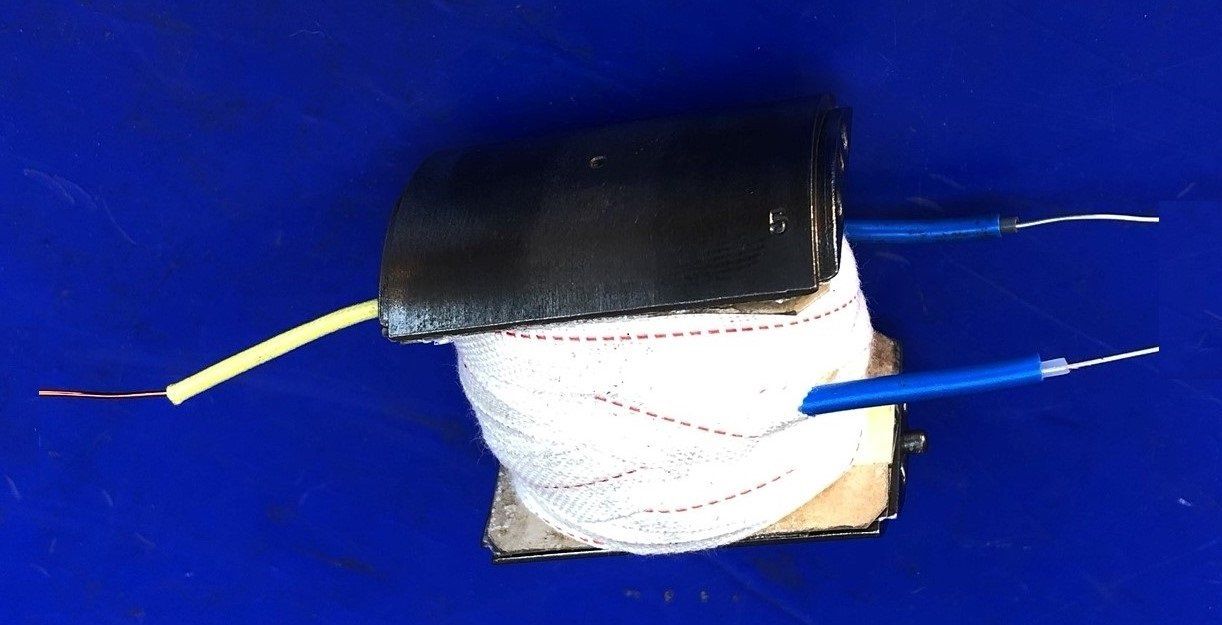
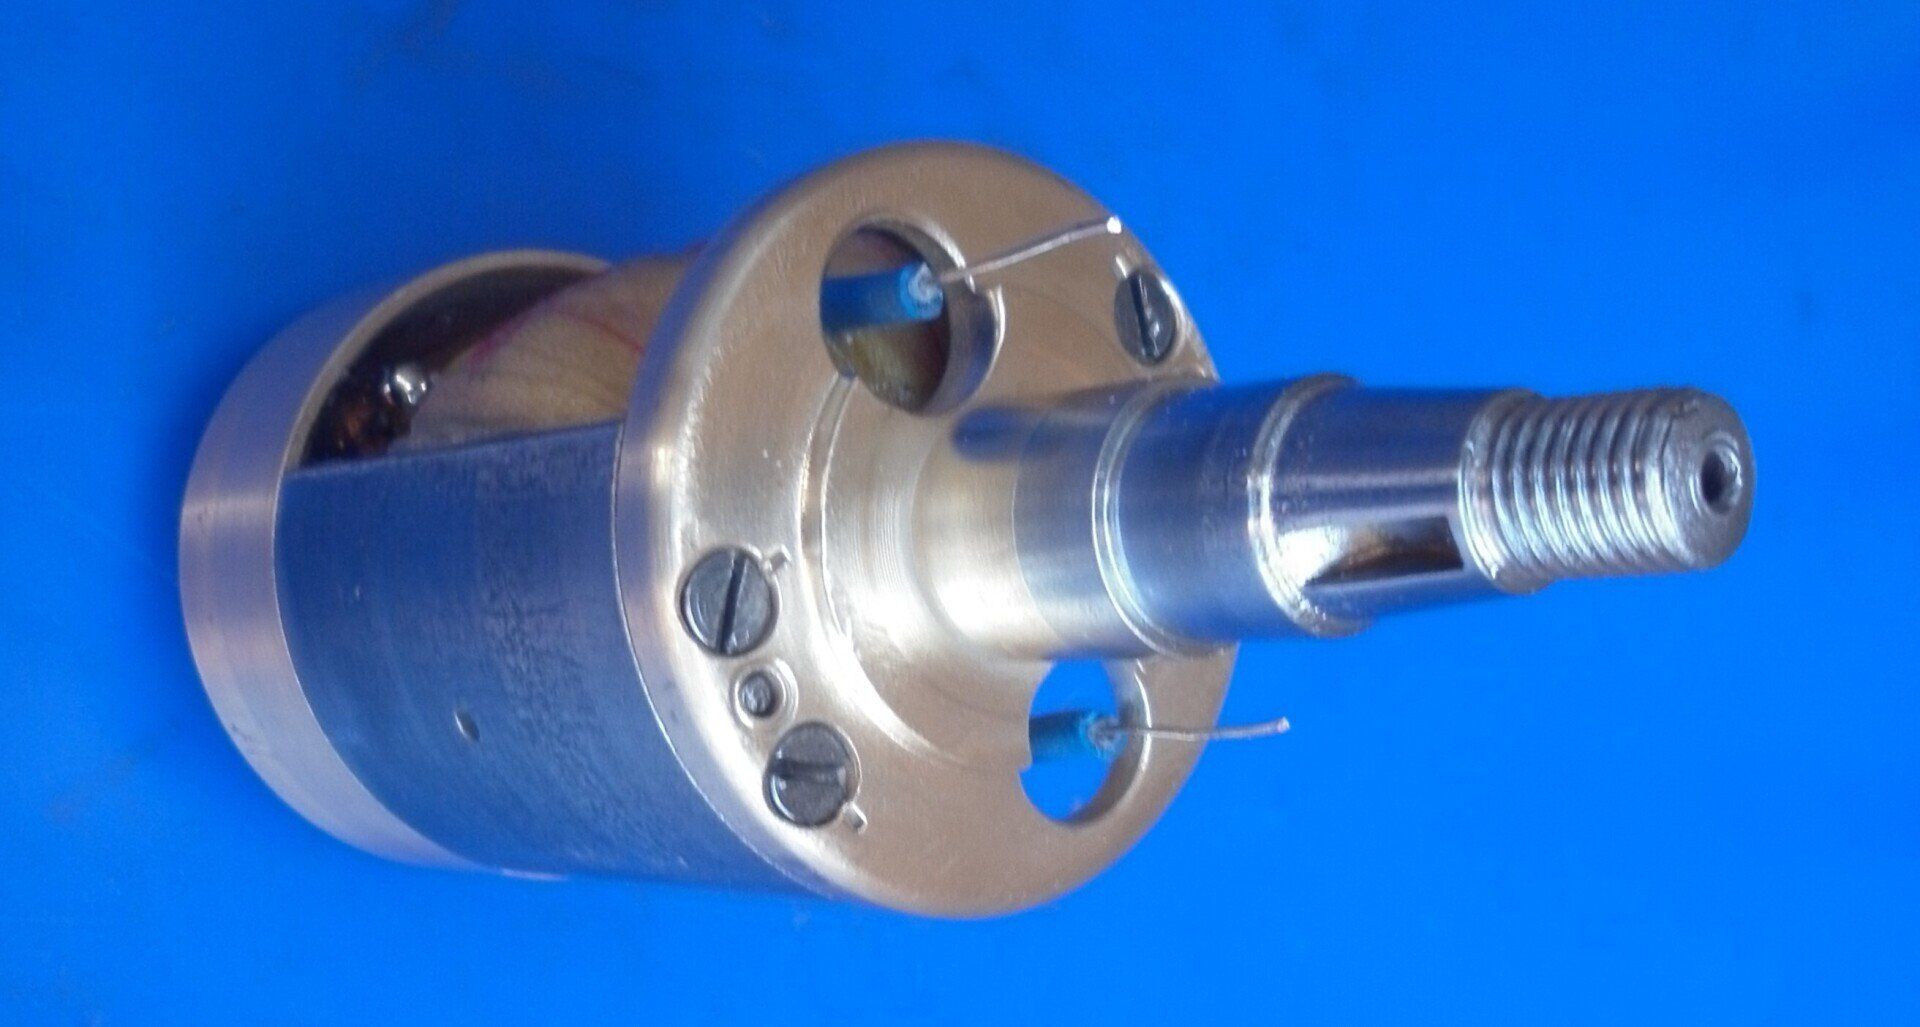
The picture shows the coil after it has been wrapped in Egyptian cotton tape and ready for the Vacuum/Pressure Impregnation process. The two wires in blue sleeves are the two ends of the secondary winding. On the far side, the one with the dark grey sleeving showing past the end of the blue sleeve is the end of the winding. The other one, on the near side, with the grey sleeving showing past the end of the blue sleeve is the start of the winding. The wire in the yellow sleeve is the end of the primary - the start of the primary was soldered to the armature core. The primary and secondary windings are totally separate and well insulated from one another.
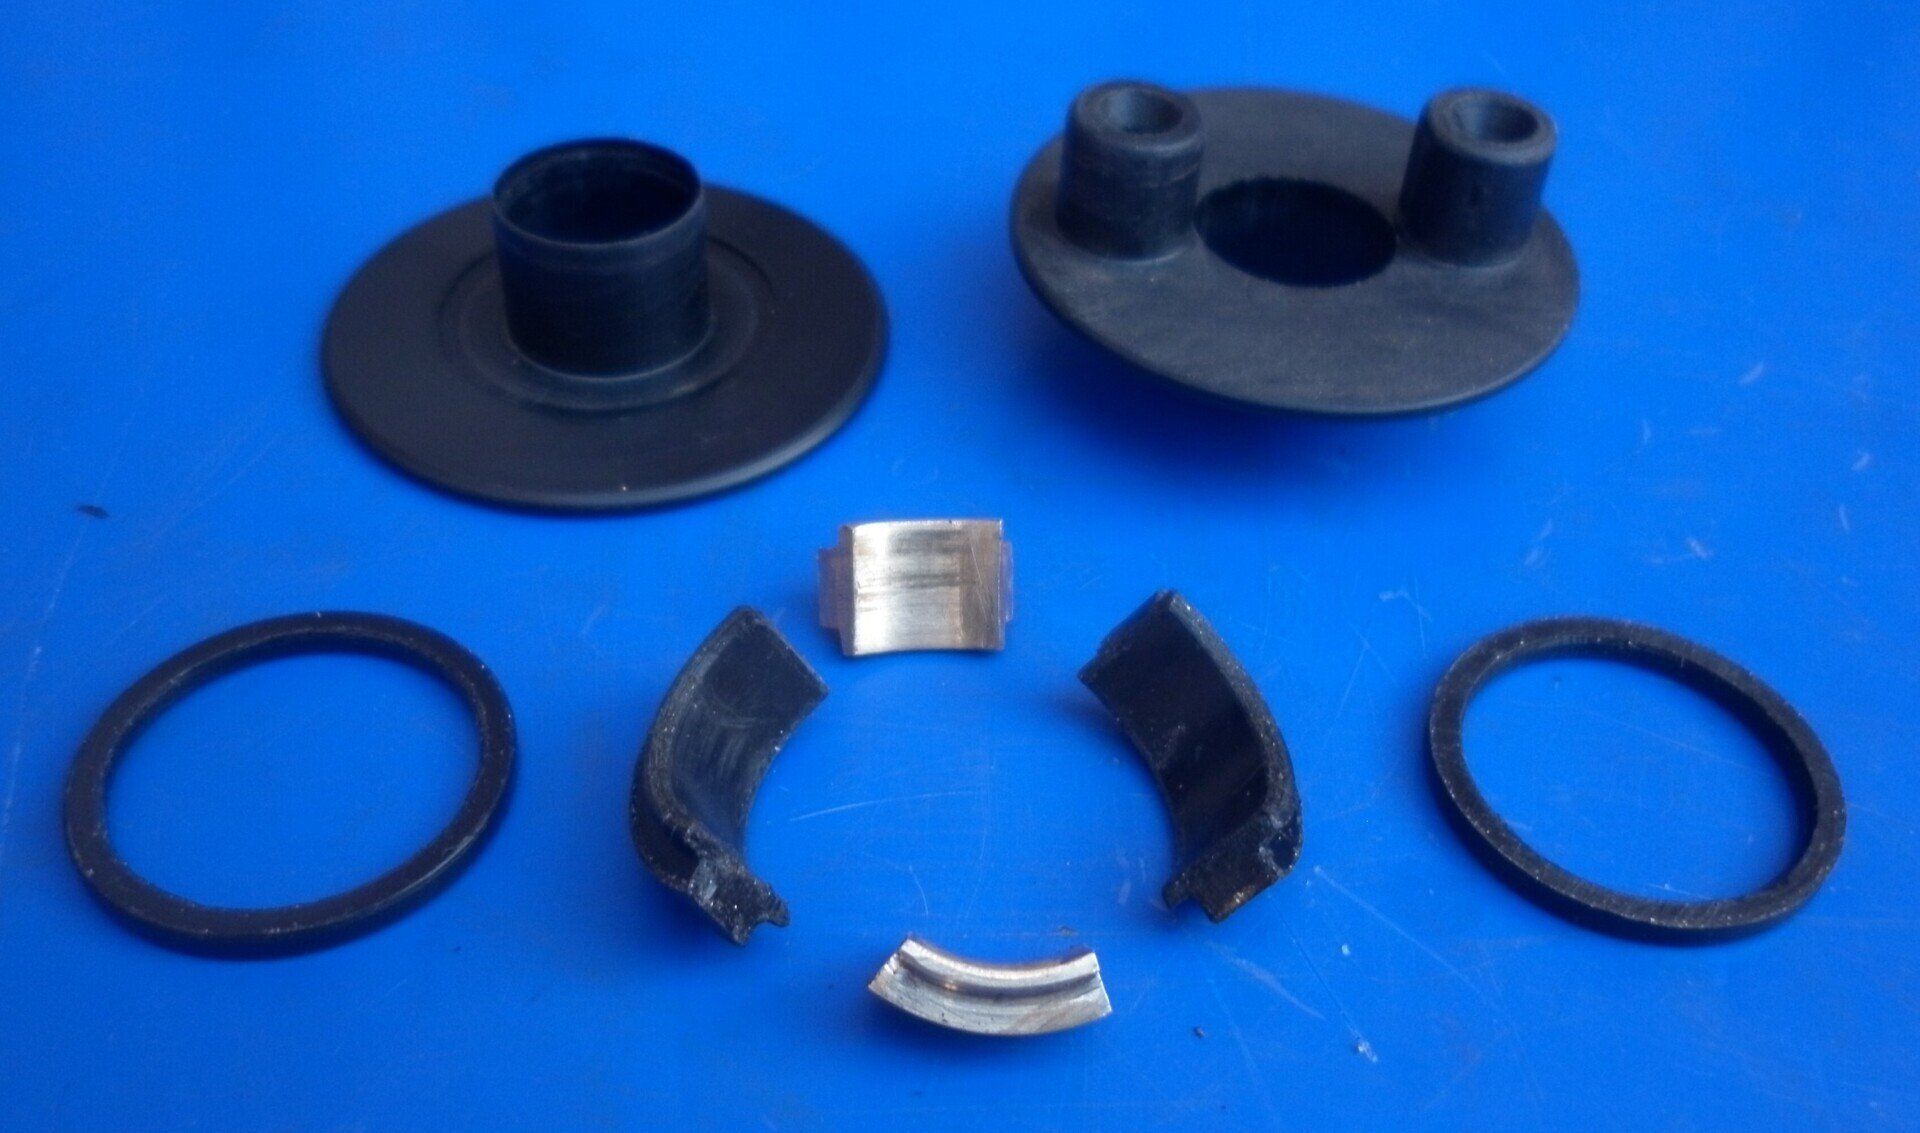
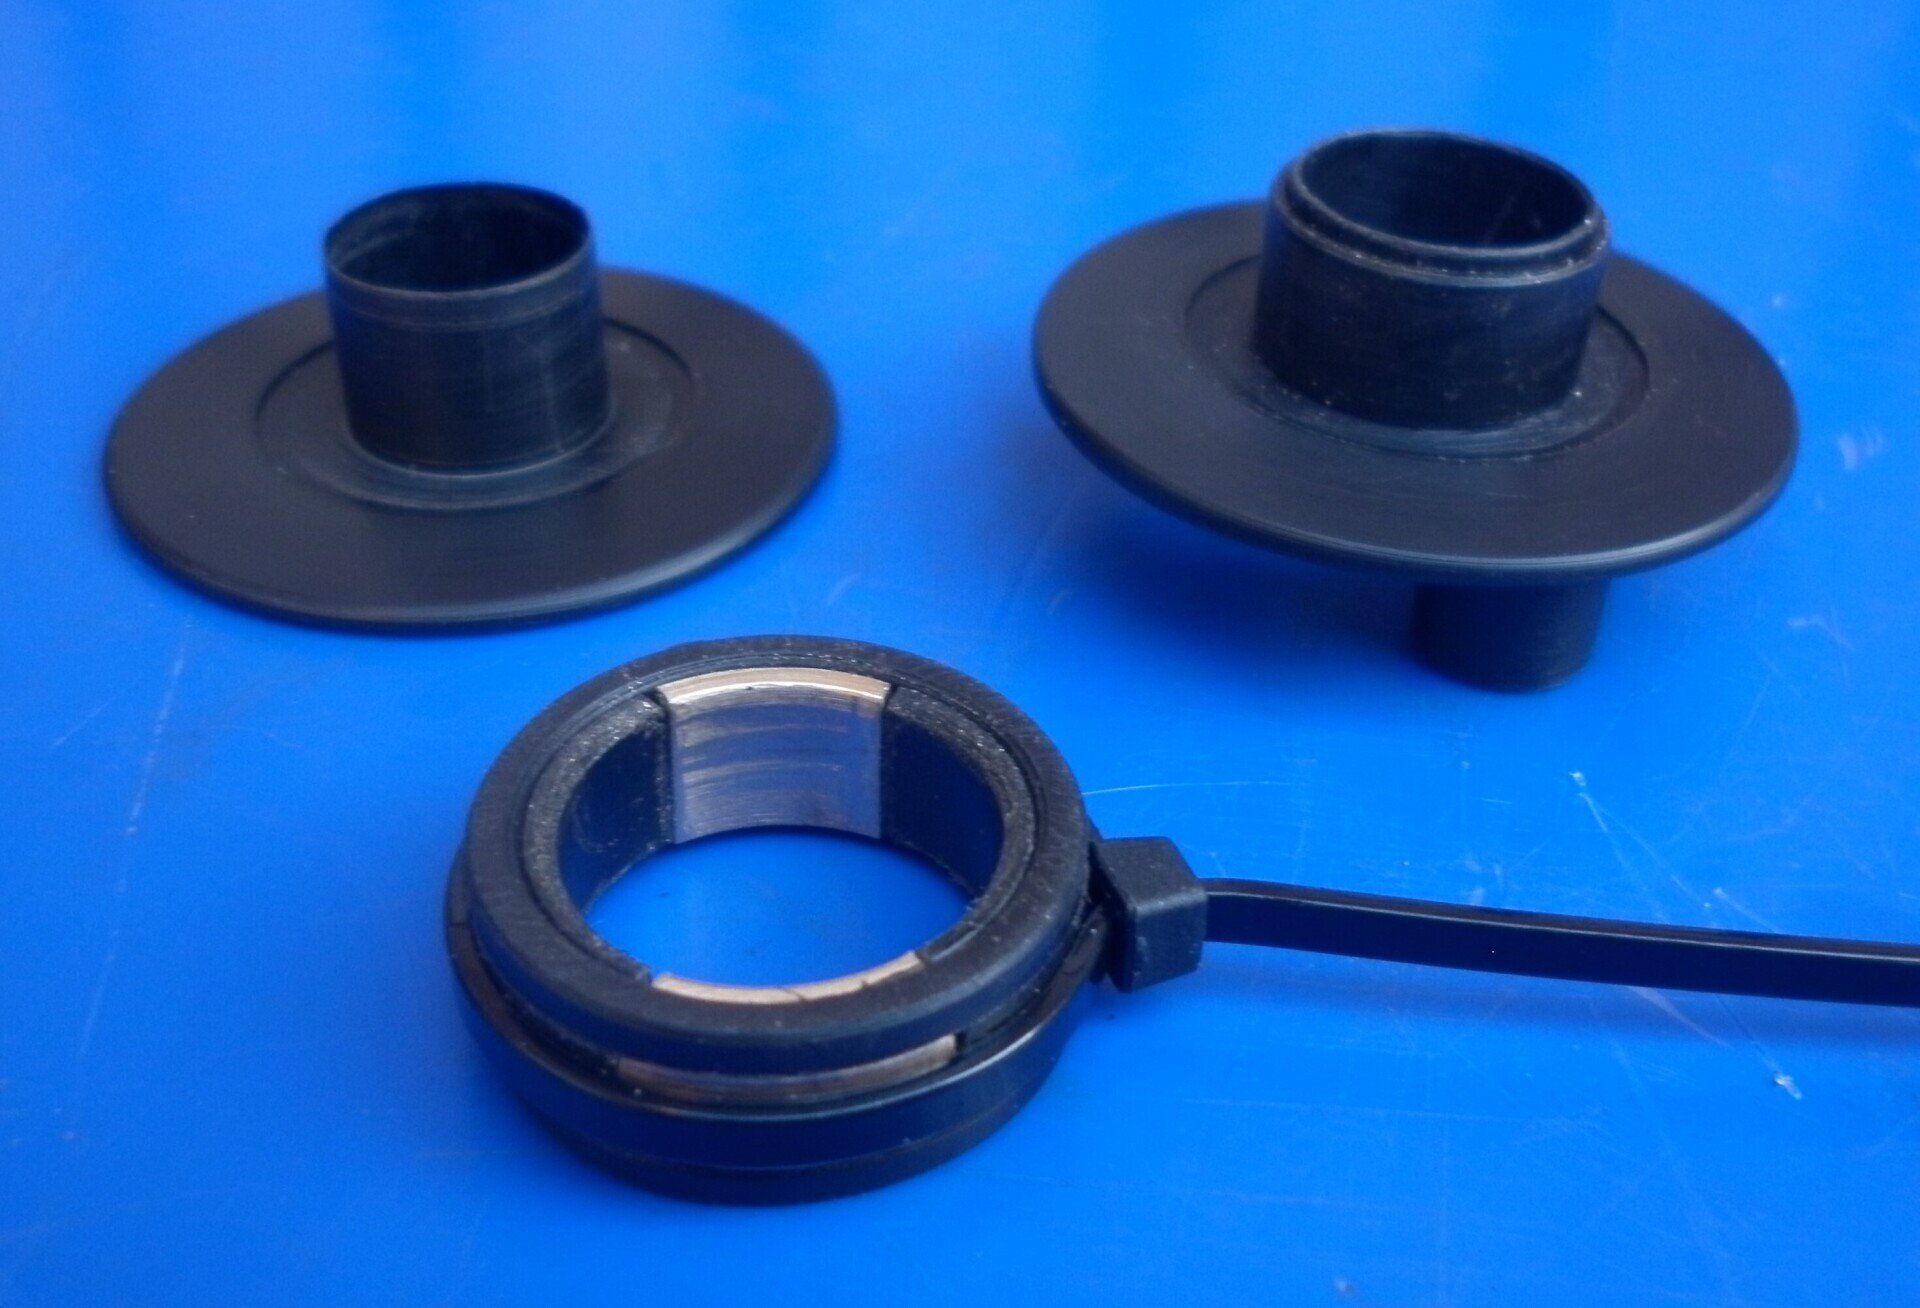
The next job is to consider the slip ring requirements. This is obviously a completely non-standard part so needs to be made from scratch.
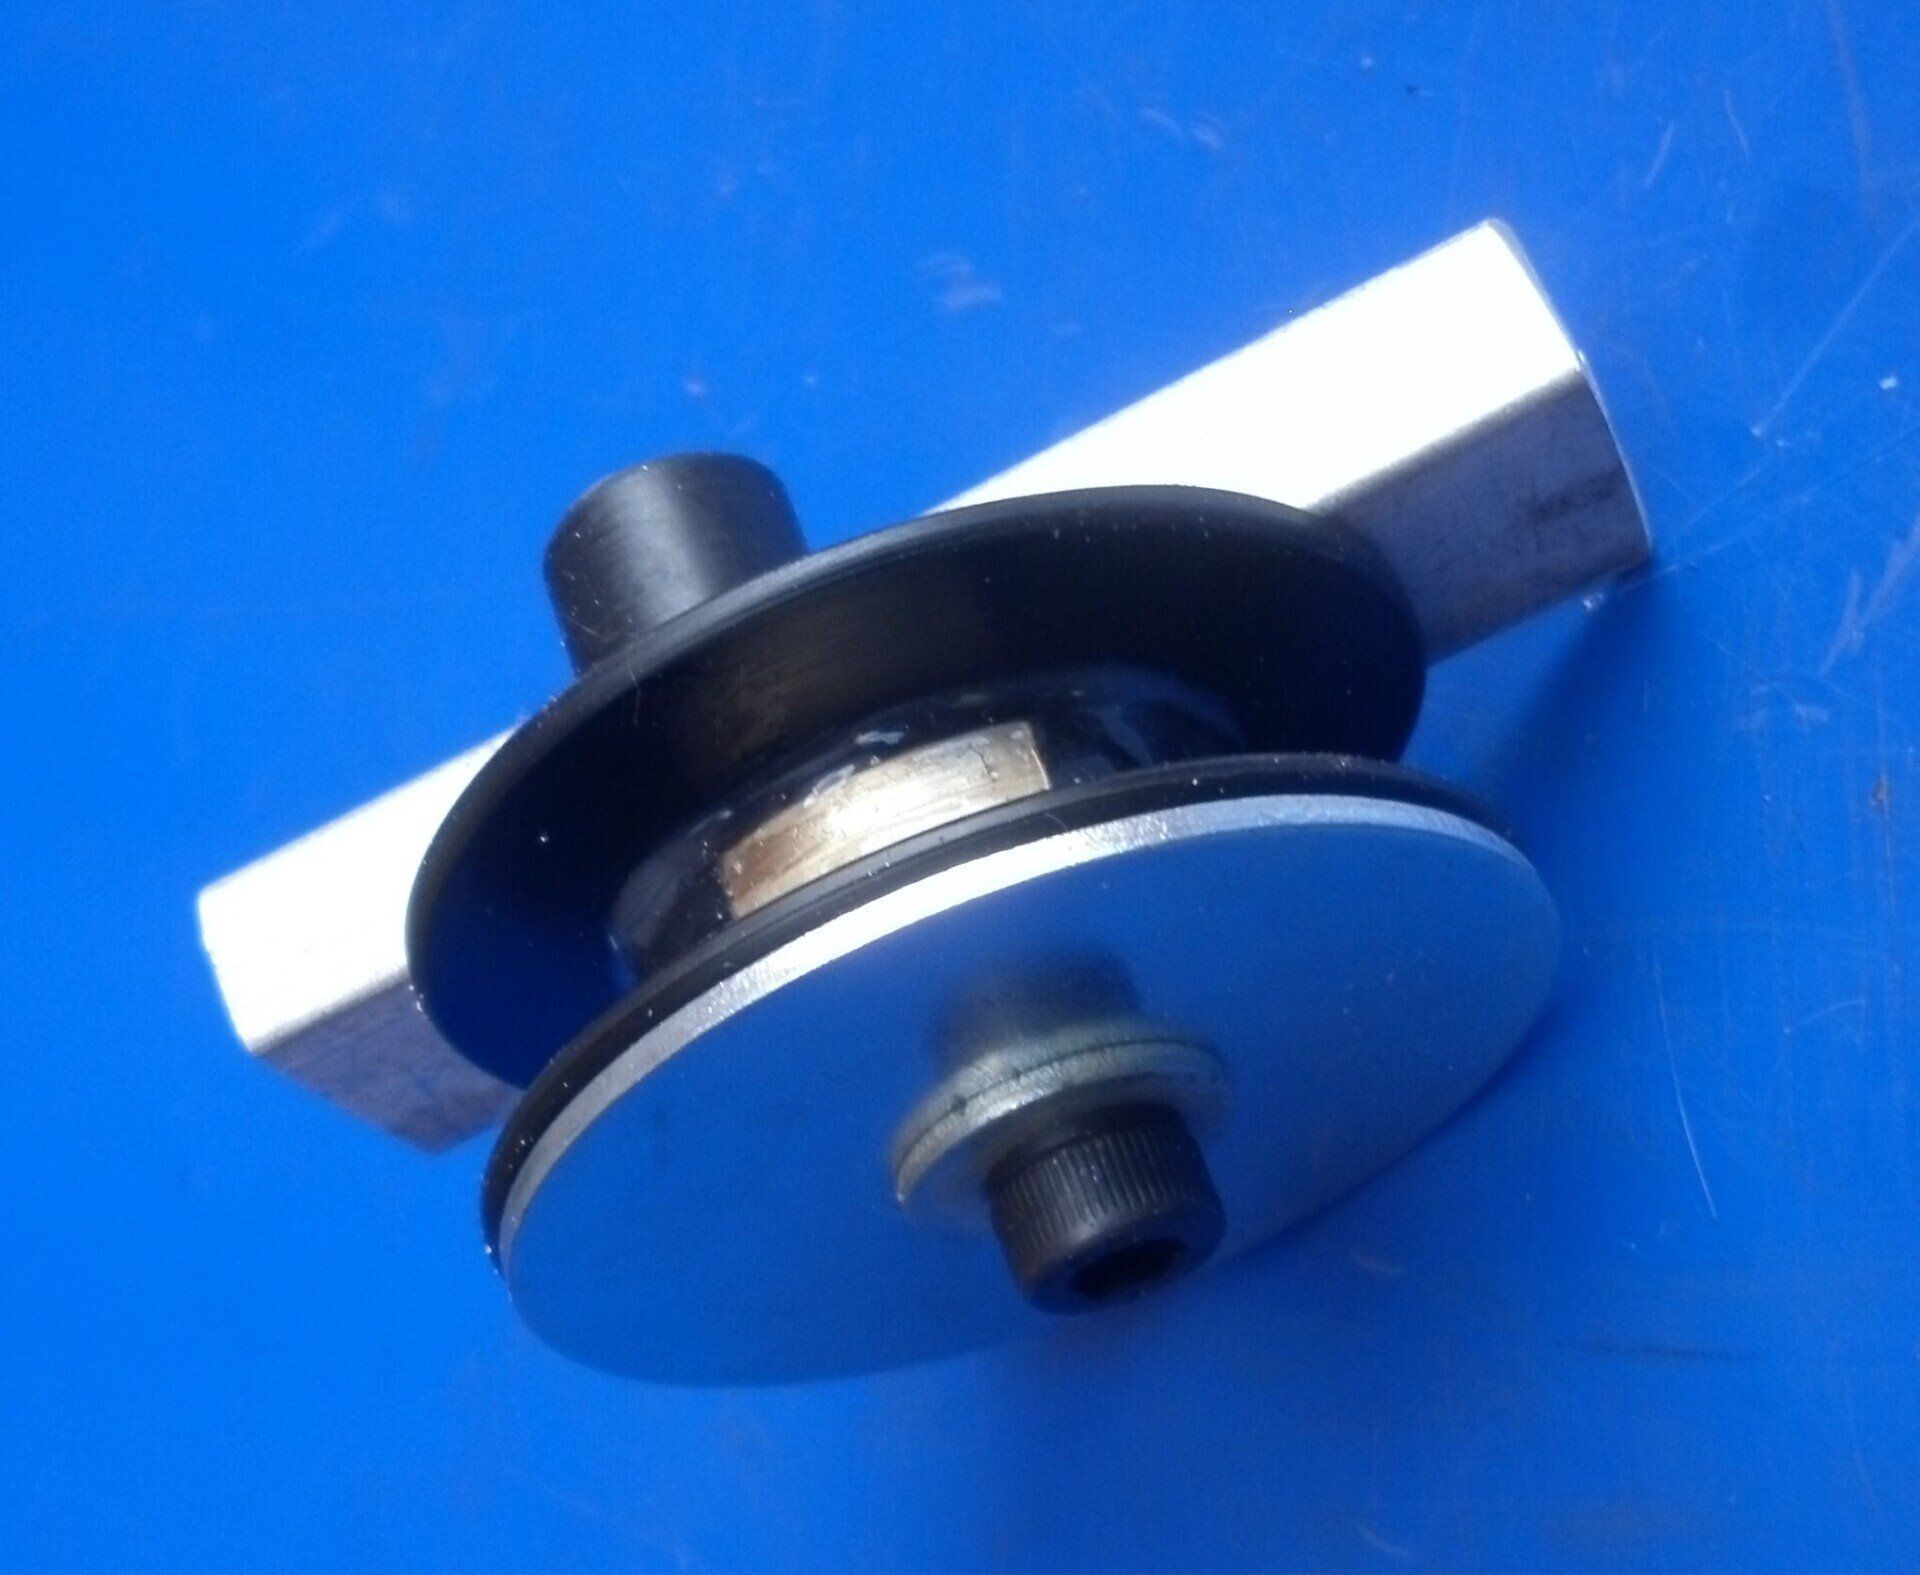
The last change to make is the easiest - simply replace the original twin cylinder cam ring with one meant for a single cylinder! The magneto is then assembled in the normal manner and is ready for testing.
The 'new' twin spark magneto used here to illustrate the work involved was fitted to a racing Norton Manx motorcycle.